No products in the cart.
You must have an order with a minimum of $150.00 to place your order, your current order total is $0.00.
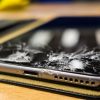
There are many reasons headphones become cranky and noisy. Long use, lack of care, device or headphone software issues, or just not matching the device. But the most common reason is a damaged or loose connected headphone jack.
Many of our clients are really optimistic about the process we used to fix their headphones. Some even asked, “How do you fix a headphone jack?” Well, there are several things we can do to repair any headphone jack safely. In this blog post today, we’ll explain those steps and some more.
Professional support is the best choice for a headphone jack repair. However, if you think that you can handle the process with care, we fully encourage you. Read until the last!
If the sound coming through your headphones from your computer or mobile device is hissing, crackling, or fading in, the reason could be a damaged headphone jack. If you’ve tested your headphones with other devices to ensure that they are working correctly, the problem is most likely in the jack. In the section coming very next, we have discussed five things to do before you take it for sure that the headphone jack is damaged.
First of all, if you think the sound coming out of your headphones when plugged in isn’t the best, check the volume of your device. If the multimedia option is muted, unmute it. Secondly, check the sound options of the headphones. Many headphones have sound-controlling settings. Look through all related options for any anomalies.
It is normal for headphones to accumulate dust and lint with regular use. Check thoroughly that the earbuds are clean and that there is no cotton swab, dust, or lint on your clothes. If so, you need to do a thorough cleaning. Be gentle when cleaning; you can’t stress the connection wires.
Restarting a device solves many setting issues and gets them back into default settings mode. However, whenever doing it, do it patiently. Devices take time to reboot; don’t just keep pressing the start button relentlessly. Press and hold the power button to restart your cell phone and connect the headphones again to check if the sound is coming clearly.
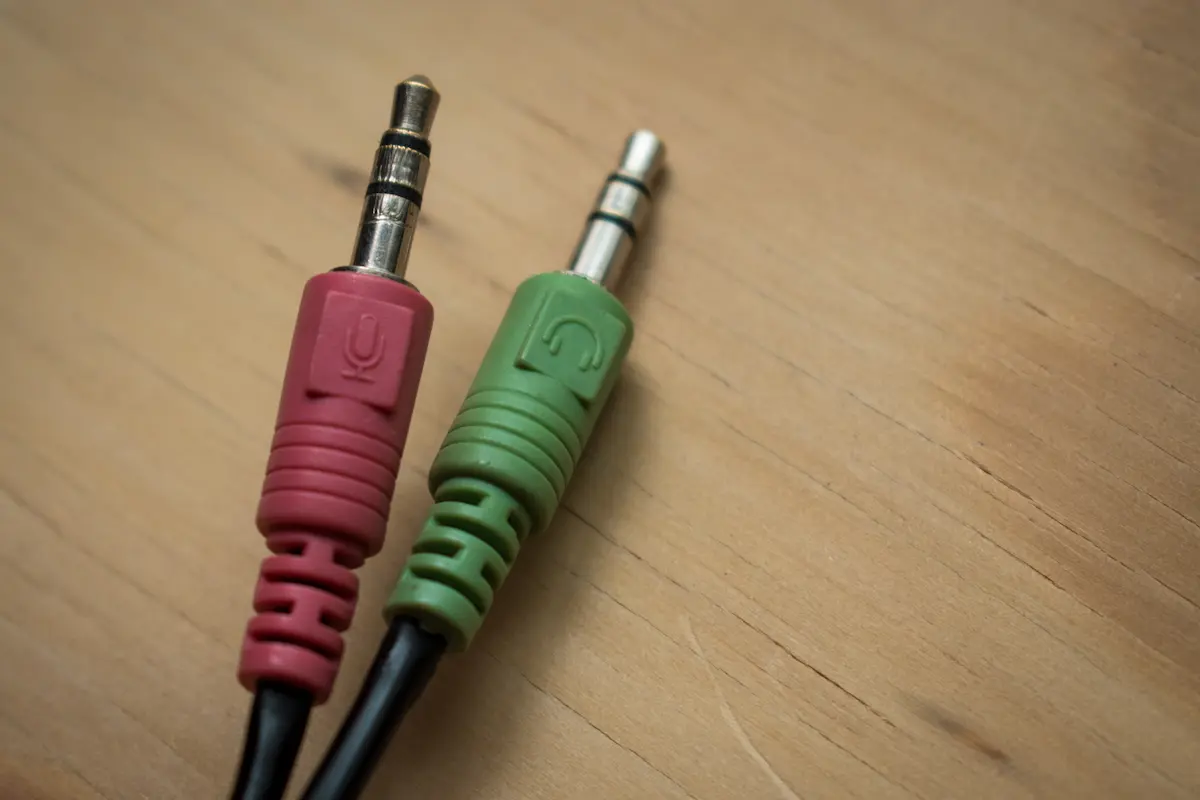
After the first three steps, if your headphones still do not sound clear, check the connecting points and headphone jack with the other parts. Check for cuts, tears, or signs of disconnection on the two wires connected to the headphone controlling part.
Sometimes, secondary audio connections in wireless headphones are technically restrained from getting sound signals from smartphones via Bluetooth. Look carefully to see whether your device is connected to another device or not. If found connected, disable them and check the sound quality.
If you have already tried all these things and still hear the headphones hissing or no sound at all, you can be sure that your headphone jack is not working properly.

Fixing a damaged headphone jack can be a daunting process if you don’t have experience. It’s sad but true that watching YouTube videos and trying them yourself may not work in the direction you want them to. You’ll need a few essential tools to get started:
A sharp utility knife or wire stripper and a pair of needle-nose pliers are also helpful. Ensure you have a clean, well-lit workspace to keep all your tools and components organised.
What’s important is that you detect the problem correctly and use the right tools to fix your headphone jack. Failure to do so might result in a device beyond repair. To avoid such problems, we strongly recommend getting help from professionals for expert repair services.
Headphones are an indispensable part of many of our important activities. Whether listening to music, attending virtual meetings, or enjoying audiobooks, we need headphones for maximum comfort and convenience.
However, trying to repair a damaged headphone jack on your own may lead to further issues, such as damaging your phone, laptop, or devices. This is why it’s important to consider the potential setbacks and seek professional help as a necessity. Don’t risk your valuable devices—get expert assistance from Dr Ballu Mobile Phone Expert.
We proudly serve the NSW, Australia residents with quick smartphone fixes at affordable rates. Get a quote today by calling 0422-334-577.


Indeed a Doctor for mobiles + Scientist too . Friendly and reliable service.

Visit them today for iPhone repair , got it done within 15 min. Got accessories on best price , protective case and glass.

Very professional got two iphone 13 Pro Max with best price all accessories very cheap and good quality.

These guys are the best in the business. It’s not about the money with them, it’s about the service,

Good service and Quality phone

My cracked screen was perfectly repaired, and the reception is very friendly.

i bought Phone accessories from shop today. MagSafe case ; glass protector and lens.

One of the fastest and best in the business, habib if you want your phone fixed asap go here.

The guy was a wizard. In and out in 15 minutes for a screen repair, also gave me an awesome food rec!

Best Mobile Shop in Harris Park/ Parramatta. Never returned disappointed from shop 🥳

Great service, Super quick in repairing my Samsung flip phone.

Excellent work Harry is the men. Highly recommend him. Quick and affordable service.

I’ve never encountered a more honest shop, they easily could have charged me more but did not, I honestly will never choose another shop for repairs.

Amazing service, have my Samsung Screen and back cover replaced within 30 mins. Reasonable price and quality work.

FREE RETURN

SHIPPING

PAYMENT

SUPPORT